Last updated November 18, 2026








Free written scope consultation - allowances, timeline, and change-order rules on paper before a single trade is scheduled
Bathroom Remodeling Troubleshooting: Common Problems and How to Fix Them
When bathroom tile cracks six months after a remodel, the tile isn’t the problem. The problem is whatever moved underneath it – and fixing just the tile means you’ll be having this conversation again in another six months. We’ve walked into Kendall bathrooms where the grout had been re-caulked three times before anyone thought to check the subfloor deflection. The symptom was cosmetic. The cause was structural. This guide is about reading the symptom correctly the first time, tracing it back to the substrate, the waterproofing, or the rough-in that actually failed, and fixing that instead of the surface. You’ll learn how to tell a deflection problem from a mortar-bed problem, what persistent odor really means, and how to document a claim so it gets honored.
Quick Answer
Most bathroom remodel failures come down to three root causes: a subfloor that flexes under foot traffic (deflection), a mortar bed or thinset that was mixed or applied wrong, or a waterproofing membrane that was skipped, breached, or never tied into the drain. Cracked grout, mold recurrence, and lingering odor are symptoms, not causes. Diagnose which of the three you’re dealing with before touching the surface, or the repair will fail again.
Styles & brands we work with
- Kitchen remodeling
- Bathroom remodeling
- Home additions & ADU
- Roofing
- Windows & doors
- Driveway & pavers
- Fence
Table of Contents
- Diagnosing Cracked Tile and Grout: Deflection, Mortar Bed, or Waterproofing
- Persistent Bathroom Odor After a Remodel: What It Tells You About the Drain Rough-In
- Mold Recurrence: Ventilation Design Problem or Installation Defect?
- Efflorescence on Grout in South Florida: Cosmetic or a Sign of Water Moving Through the Wall?
- How to Document a Workmanship Claim: Photos, Timeline, Written Notice
- Drain and Fixture Failures: When It’s the Install and When It’s the Product
- Preventing a Repeat: What a Proper Substrate and Waterproofing Scope Looks Like
- Kendall-Specific Conditions That Stress a Bathroom
Diagnosing Cracked Tile and Grout: Deflection, Mortar Bed, or Waterproofing
Cracked grout can mean three very different things, and each has a different fix. Before you spend money on re-grouting, spend twenty minutes on diagnosis.
Deflection is movement in the floor structure. If you stand on one side of the room and a glass of water on the vanity ripples when someone walks across, the joists or subfloor aren’t stiff enough for tile. Grout cracks along a straight line – often following a joist seam or the long axis of the room – and the cracks reappear in the same place after any patch. The fix is structural: adding blocking, sistering joists, or installing a decoupling membrane before tile goes down. Re-grouting over deflection is throwing money at a moving target.
Improper mortar bed shows up as hollow-sounding tile. Tap across the floor with a screwdriver handle. A dull thud means solid contact; a hollow knock means the thinset didn’t bond. Hollow tile cracks at the edges and corners first. The fix is removal and reset of the affected tile with proper coverage – usually a 95% coverage standard on floor tile.
Waterproofing failure is the one that hides. Grout hairline cracks near the shower curb, tile that’s loose only in the wet zone, or a musty smell that never leaves: these point to water getting behind the tile. The fix isn’t grout – it’s rebuilding the shower pan or wall assembly with a continuous membrane tied into the drain flange.
- Straight-line cracks that return after patching: deflection
- Hollow taps and edge cracking: mortar bed failure
- Loose tile in the wet zone plus odor: waterproofing failure
- Efflorescence plus a cool, damp wall: water moving through the assembly
In our experience, the cracked grout we get called about in Kendall is roughly split between deflection on second-story floors and waterproofing breaches at the shower curb. The tell is location: floor cracks in the dry zone lean structural, cracks at the curb and pan lean waterproofing.
Persistent Bathroom Odor After a Remodel: What It Tells You About the Drain Rough-In
A bathroom that smells like sewer after a remodel almost always has a broken seal somewhere in the drain path, not a dirty floor. The two most common culprits are a wax ring that didn’t seat on the toilet flange and a drain rough-in that’s missing or has a dry P-trap.
Confirm without demolition using this sequence:
- Isolate the toilet first. Tape a plastic sheet over the toilet bowl and base, seal the edges, and run the exhaust fan. If the smell disappears, the wax ring or flange is the source.
- Check the floor drain and sink trap. Pour a cup of water down any floor drain. If the smell returns within a day, the trap is dry or the vent is blocked.
- Look for a venting problem. Gurgling drains and slow flushing point to a blocked or undersized vent stack, which lets sewer gas back into the room.
- Sniff the shower drain. A musty, sulfur smell that only happens after showering usually means a shallow trap or a trap that’s lost its seal.
In Kendall condos and older homes, we’ve found undersized vent stacks and shared wet vents that cause intermittent odor even in a brand-new bathroom. A plumber with a smoke test can confirm in under an hour. If it’s a wax ring, the fix is a twenty-dollar part and an hour of labor. If it’s venting, it’s a plumbing scope, not a tile scope, and it needs to be addressed before any cosmetic work goes back on.
Mold Recurrence: Ventilation Design Problem or Installation Defect?
Mold that returns despite repeated cleaning is either a ventilation problem or an installation defect, and telling them apart determines who’s responsible. The distinction matters because one is a design failure and one is a workmanship failure.
Ventilation design problem: the exhaust fan is undersized, ducted into the attic instead of outside, or the run is too long for the fan’s rating. Ceiling mold in the corners, mold on the upper walls, and condensation on mirrors after a ten-minute shower all point here. A bathroom fan should move at least 1 CFM per square foot of floor area; a typical 5×8 Kendall bathroom needs 40-50 CFM minimum, and the duct has to exit the roof or a wall, not terminate in the attic.
Installation defect: mold concentrated at a shower seam, along the bottom row of tile, or behind the vanity backsplash means water has been getting into the assembly. A missing membrane, a gap in the cement board seams, or a bench or niche that was never waterproofed will grow mold even in a perfectly ventilated room. The clue is location: a well-ventilated bathroom that grows mold in one specific place has a defect, not a fan problem.
- Corner and ceiling mold, condensation on fixtures: ventilation
- Seam, base, and niche mold: waterproofing defect
- Both at once: usually a defect that’s being masked by a marginal fan
Our technicians, some with up to 22 years of experience, use a moisture meter on the wall behind the tile before recommending any fix. If the meter reads wet behind the mold, cleaning won’t hold. If the wall reads dry, the fan and duct run are the repair.
Efflorescence on Grout in South Florida: Cosmetic or a Sign of Water Moving Through the Wall?
Efflorescence – that white, powdery bloom on grout or tile – is salt pushed to the surface as water evaporates. In South Florida’s humidity, a little efflorescence on a new install can be cosmetic. Efflorescence that keeps coming back is water moving through the wall assembly, and it’s a repair, not a cleaning job.
To tell them apart:
- Clean it once with a diluted vinegar solution and dry the area thoroughly. Cosmetic bloom on new grout usually doesn’t return.
- Watch for two weeks. If it returns in the same pattern, water is migrating from somewhere behind the surface.
- Check the other side of the wall. A wet or damp exterior wall, a leaking shower valve, or a missing exterior seal can push water into the bathroom assembly.
- Use a moisture meter. A reading above the dry baseline confirms water movement, not just surface salt.
In Kendall, efflorescence is often the first warning before a larger water problem. Miami-Dade humidity and near-daily summer rain cycles mean an exterior breach or a failed sealant joint can push moisture through stucco and wallboard in a way that a drier climate never does. Where we see recurring bloom along a shower wall, we check the weep holes at any exterior window or door on the other side of that wall. If the bloom appears only on the wet-side tile, the wall assembly itself is the problem.
How to Document a Workmanship Claim: Photos, Timeline, Written Notice
Whether your contractor honors a workmanship claim depends heavily on what you can show, and when. A clear record makes “make it right” enforceable rather than a matter of goodwill.
Build the record in this order:
- Photograph every problem area with a scale in frame. A coin or ruler beside a crack makes the size measurable. Photograph the whole room once and the defect up close.
- Keep a dated written timeline. When did the work finish? When did the crack or mold first appear? When did you first report it in writing?
- Send written notice the day you notice the problem. An email to the contractor with photos and a plain description of what you see and when it started is the record that matters. A phone call is not.
- Request a written diagnosis and scope. Ask what failed, what the repair involves, and what the guarantee covers. A written answer is what keeps the repair from becoming a verbal promise.
- Define “make it right” before the repair starts. “Make it right” should mean: remove and replace the failed work, not patch the surface; match the original materials; and re-start the guarantee on the repaired area.
On any project we touch, the guarantee is in writing from the start. Our 365-Day Done Right Promise means if the work fails inside that period, we come back and fix it at no charge – and the same written guarantee covers every repair, with a free second visit if a repair fails. The point of a written price and a written guarantee is that both parties know exactly what the contract says before a single cabinet is pulled or a single tile is set. That’s how we run general contractor work in Kendall, and it’s what we’d want for our own homes.
Drain and Fixture Failures: When It’s the Install and When It’s the Product
A fixture that fails in the first year is usually an install problem. A fixture that fails in year five to eight is often the product or the water. Sorting that out saves you a warranty fight.
Install issues show up early and in one place: a single leaking supply line, a toilet that rocks, a showerhead that drips from the wrong side. Loose fixtures and slow drips on a new install trace to a fitting that wasn’t tightened to spec or a supply line that was cross-threaded. These are workmanship, and a good contractor covers them.
Product issues show up later and broadly: a cartridge that degrades, a finish that pits, a valve that stiffens. Kendall’s water chemistry – hard and often chlorinated – accelerates finish wear and cartridge failure. This is where brand choice matters. We install Kohler and Moen fixtures with metal cartridges, and Grohe thermostatic valves, because they hold up to the water here in a way the bargain-bin imports don’t. The product warranty sits on top of our workmanship guarantee, so you’re covered on both layers.
- First-year leak or wobble: install issue, contractor covers
- Third-year finish pitting or stiff valve: product or water chemistry
- Most leaks we see in Kendall bathrooms are at the supply line behind the toilet, not the fixture
If you’re pricing a replacement, our bathroom remodeling in Kendall page has current ranges for full and partial replacement so you can compare against what you paid for the original install.
Preventing a Repeat: What a Proper Substrate and Waterproofing Scope Looks Like
The most expensive repair is the one you pay for twice. A proper scope, written and priced before work starts, is what prevents the second round.
- Subfloor prep to spec. Deflection corrected, plywood thickness checked against the tile manufacturer’s requirement, and a decoupling membrane over any wood-framed floor.
- Cement board substrate – the moisture-resistant layer behind your tile – set in thinset with seams taped and bedded, not dry-hung with nails.
- Continuous waterproofing membrane on all wet walls and the pan, tied into the drain flange and any niche or bench. Liquid-applied and sheet membranes both work; the standard is continuity, not brand.
- Ventilation sized to the room – at least 1 CFM per square foot, ducted outside, with a timer switch a homeowner will actually use.
- Framing and blocking for any grab bar, tile niche, or floating vanity, installed before the board goes up.
- Written price and written guarantee before demo day, so nothing in the scope moves without a change order.
If a contractor can’t show you these line items in a written scope, the substrate and membrane are the first things that get cut to hit a price. That’s the scope that fails at six months. We put the price and the guarantee in writing because the number on day one should be the number on the invoice – and the promise to make it right should be something you can hold in your hand. If you’re planning a full renovation, our kitchen remodeling in Kendall guide covers the same principles for larger scopes, and the Penhallow Remodeling Kendall home page explains how we work.
Kendall-Specific Conditions That Stress a Bathroom
Kendall’s climate and building stock create a distinct set of bathroom stresses. Miami-Dade’s summer humidity, storm-season rain, and an aging housing stock mean the failures here often look like something else at first.
Condos and shared plumbing. Many Kendall condos share plumbing walls, and a waterproofing failure in one unit can show up as a stain in another. When we see efflorescence or mold on a shared wall, we always ask whether the neighbor has had work done.
Hard water. Kendall water is hard, and hard water accelerates cartridge wear, finish pitting, and efflorescence. It’s the reason we specify metal-cartridge fixtures and a shower filter where the homeowner will maintain one.
Stucco and storm exposure. South Florida storm-season rain and stucco exteriors push water into walls that then migrate inward. A recurring efflorescence bloom or a damp bathroom exterior wall in Kendall is often an exterior sealant or weep-hole issue before it’s a bathroom tile issue.
HOA and permit rules. Miami-Dade requires a permit for most bathroom remodels that move plumbing or electrical, and many Kendall HOAs require a written scope and licensed contractor before work begins. A proper contractor pulls the permits and shows you the inspections.
Our technicians, some with up to 22 years of experience, see these conditions every week in Kendall and the surrounding neighborhoods. A background-checked, uniformed technician arrives on every job, so you know exactly who’s in your home.
Common Mistakes to Avoid
- Re-grouting over a deflection problem. If the crack returns within six months, the grout wasn’t the cause. The joists or subfloor are, and they need to be corrected before any new tile goes down.
- Cleaning mold instead of finding the moisture source. A moisture meter reading behind the tile tells you whether the wall is wet. If it is, cleaning is a short-term fix that costs you the real repair later.
- Assuming odor is a dirty floor. A sewer smell after a remodel is a sealed drain or a wax ring, not a mop problem. Confirm with the isolation test before you buy a new toilet.
- Cutting the waterproofing membrane to save on a budget bid. A membrane is a small line item relative to the cost of a failed shower pan. On a $4,000 range for a tub-to-shower conversion, the membrane is a fraction of the total and the one thing you can’t skip.
- Skipping the permit on Kendall bathroom remodels. Miami-Dade permits for plumbing and electrical are required, and an unpermitted remodel creates a house-disclosure problem at resale. Pull the permits.
- Accepting a verbal “make it right.” If the guarantee isn’t in writing, with a defined period and a defined repair scope, you don’t have a guarantee – you have a promise you can’t enforce.
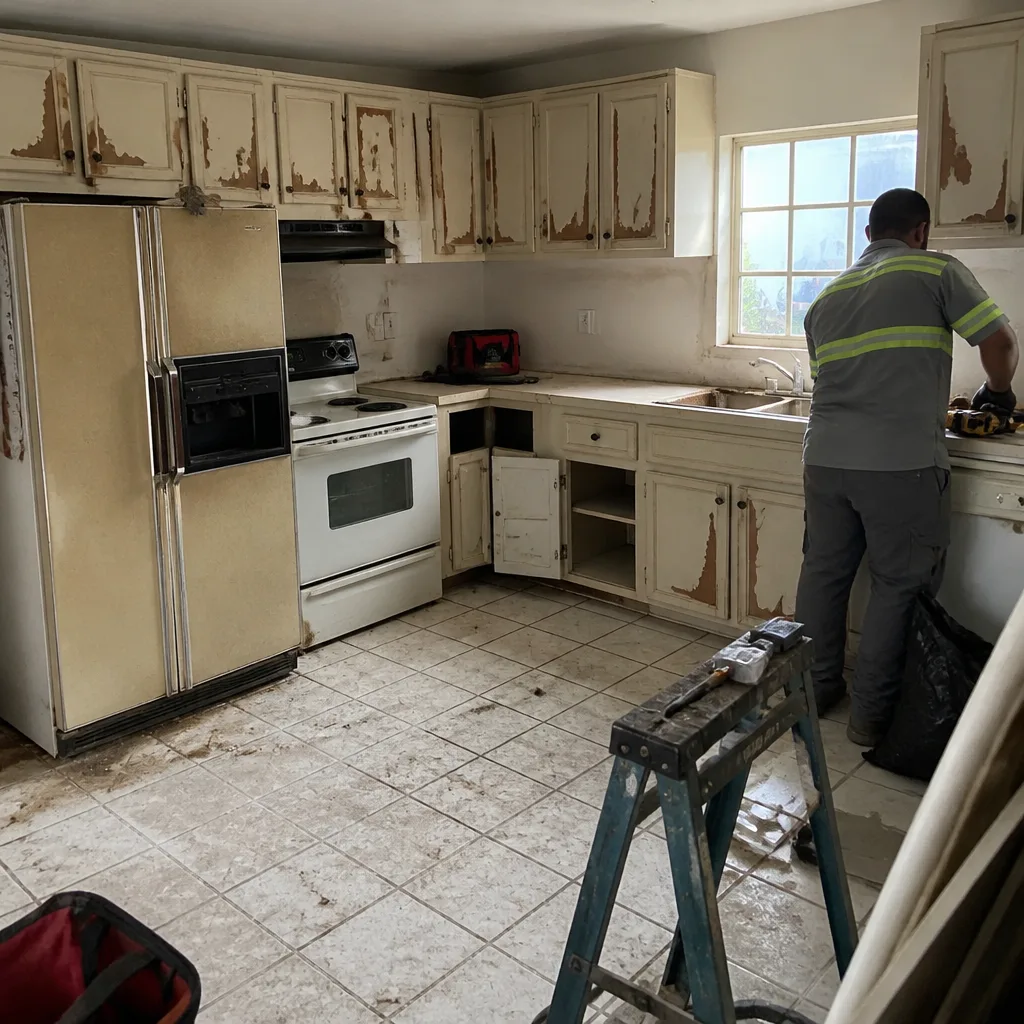
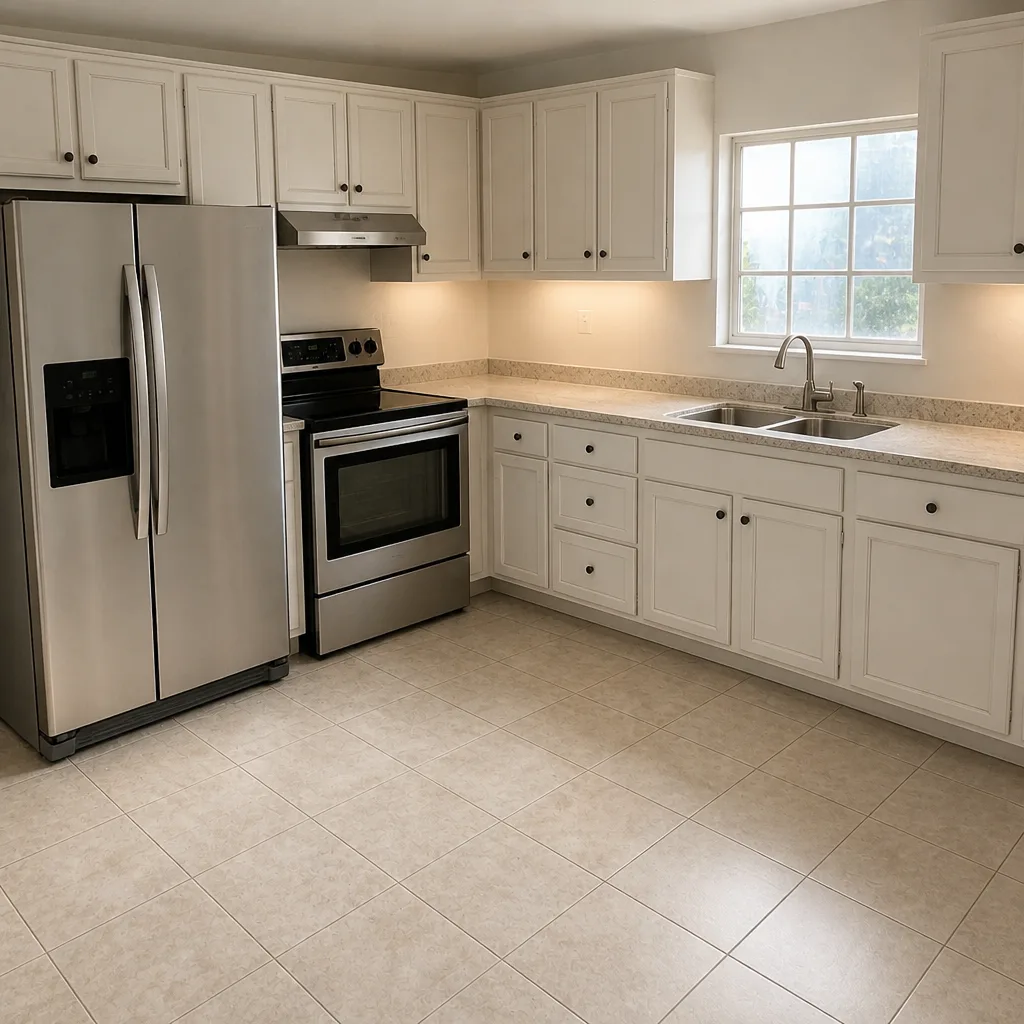
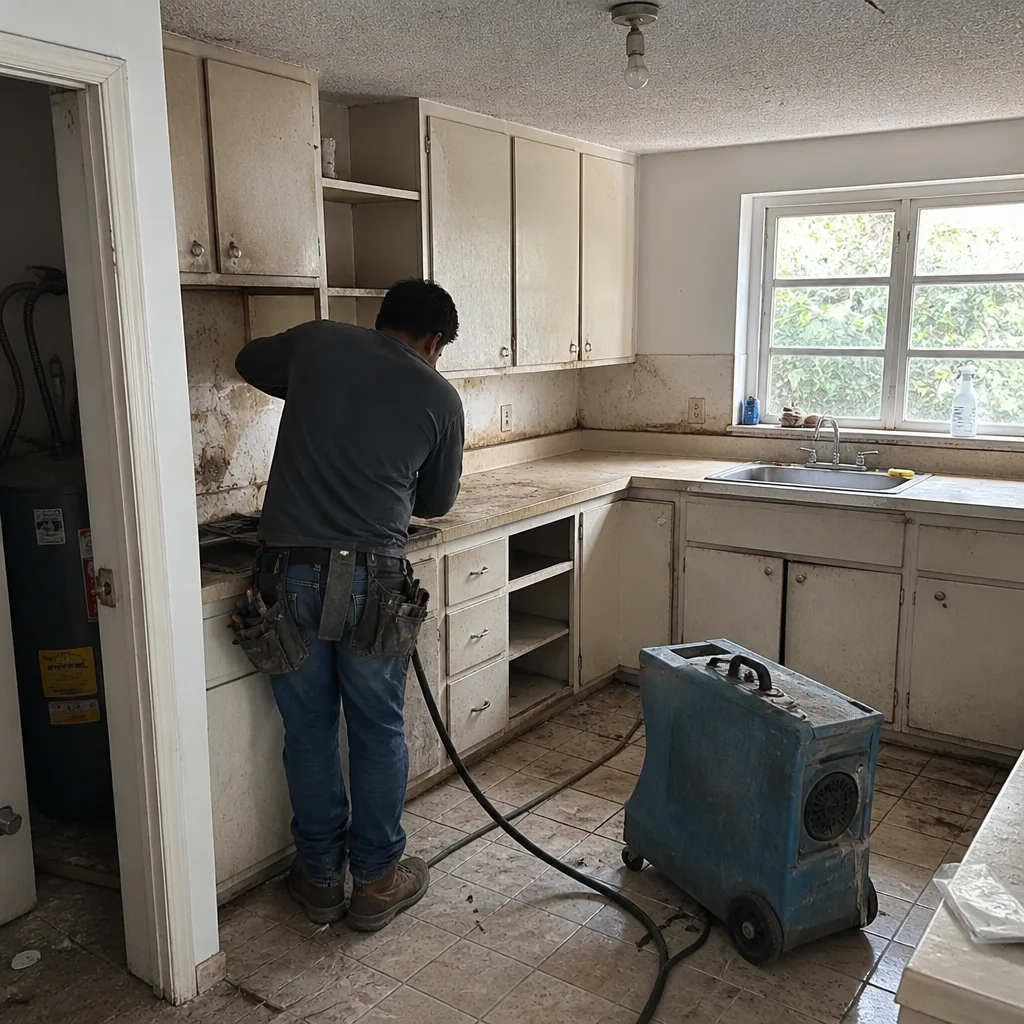
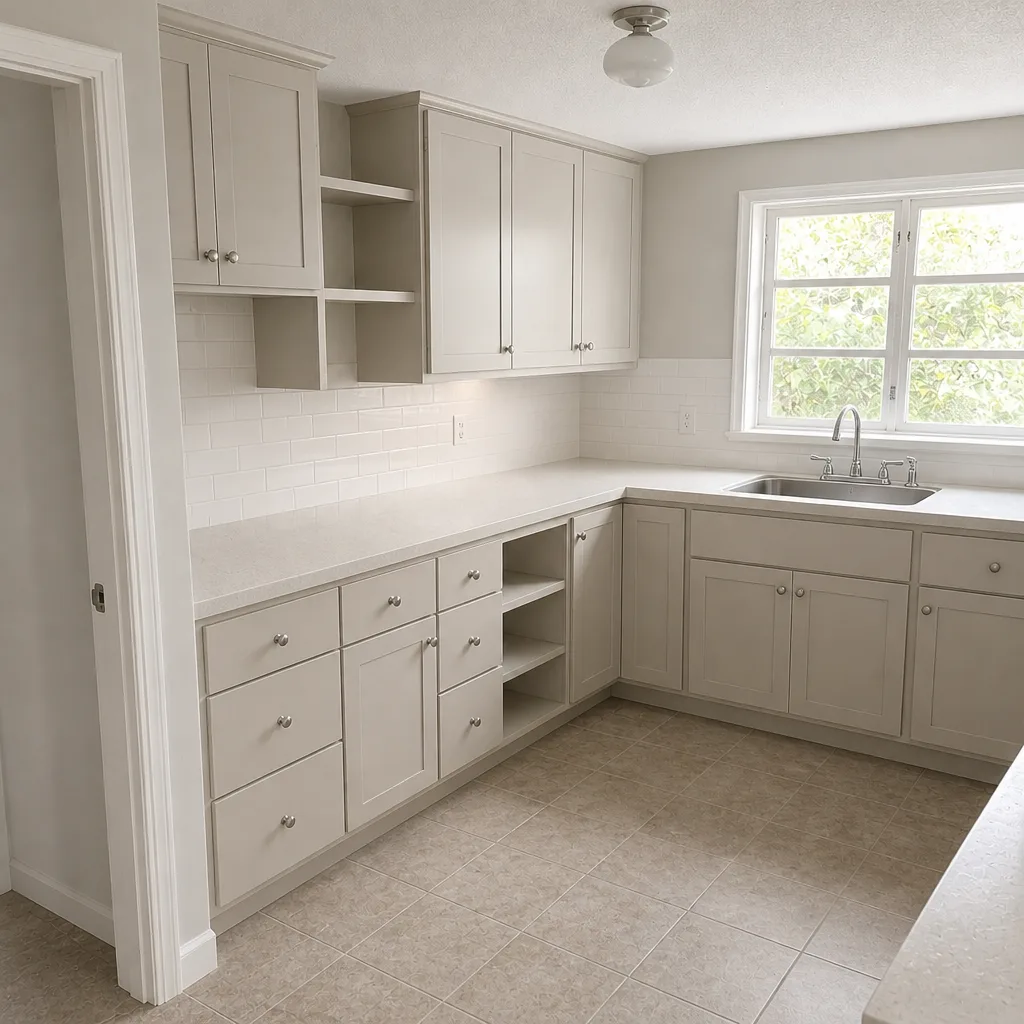
See the difference
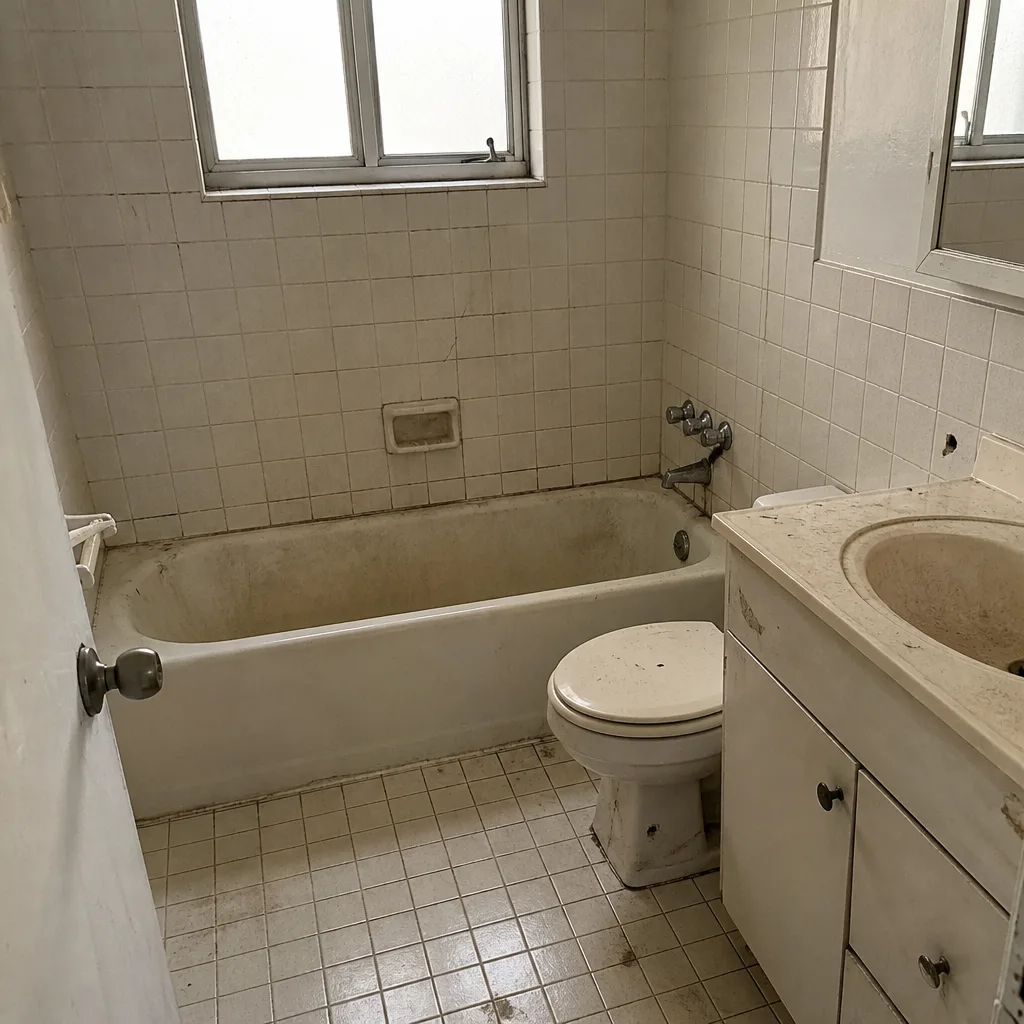 Before
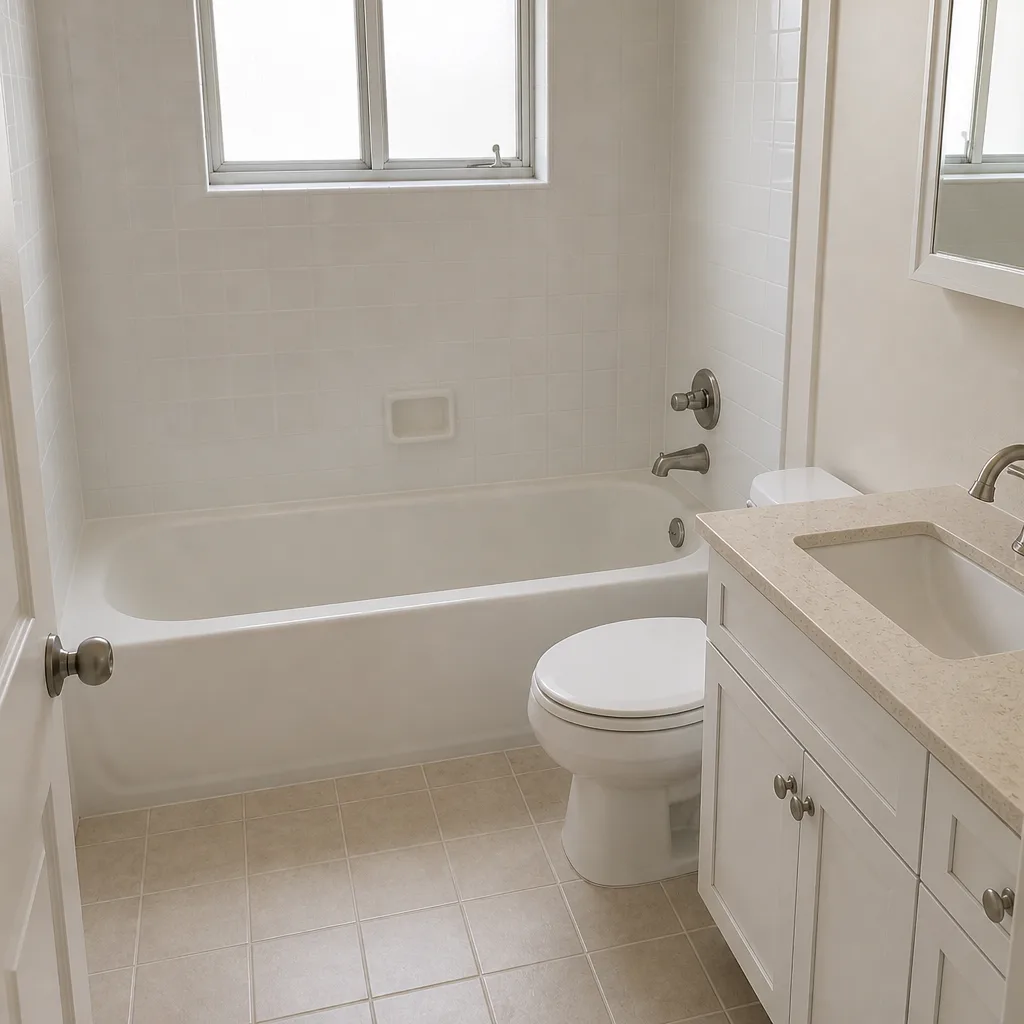 After
 Before
 After
 Before
 After
When to Call a Professional
Some problems are a trip to the hardware store. Others need a licensed contractor before more damage happens. Call a professional when: grout cracks return after two patches; mold reappears in the same spot after cleaning; a persistent sewer smell doesn’t resolve with one round of the isolation test; the moisture meter reads wet behind the tile; or the failure involves the shower pan, the subfloor, or any framing. Those are the cases where the surface fix loses and the substrate wins. Penhallow Remodeling Kendall offers free estimates in Kendall – call (844) 560-5417 to schedule a walkthrough. A live person answers, and you’ll get a written price before any work starts, with our 365-Day Done Right Promise and a written guarantee on every repair.
Frequently Asked Questions
The tile almost certainly cracked because the substrate moved, not because the tile failed. That’s deflection, a mortar bed that lost its bond, or a waterproofing breach at the curb or pan. The fix is structural – correct the deflection or rebuild the waterproofing – not a re-grout. Call (844) 560-5417 for an exact diagnosis and a free estimate in Kendall.
Test with a tap and a straightedge: straight-line cracks that reappear after patching suggest deflection, and hollow knocks under the tile suggest a mortar bed failure. Grout cracks that only appear at the shower curb often mean a waterproofing issue. A moisture meter behind the tile confirms it. Call (844) 560-5417 to schedule a free inspection.
It usually means a broken seal in the drain path – a wax ring that missed the flange or a dry or missing P-trap. Confirm by taping over the toilet base; if the smell stops, the wax ring is the source. If it persists, check the vent stack. Call (844) 560-5417 for an exact quote – estimates are free.
Cosmetic cleaning and re-grouting typically runs $200-$600, but repairing the root cause – a failed waterproofing membrane or a ventilation fix – usually runs $1,500-$6,500 depending on how much of the shower or wall has to be rebuilt. Prices in Kendall reflect Miami-Dade permit and humidity-zone requirements. Call (844) 560-5417 for a written, line-item quote.
Yes. Miami-Dade requires a permit for plumbing and electrical work in a bathroom remodel, and we pull permits and pass inspections on every project. We’ll show you the permit and the inspection sign-offs before we close out the job. Call (844) 560-5417 to schedule a free estimate.
No. We give you a written price before any work starts, and the number on day one is the number on the invoice. If the scope changes, it changes by written change order, not by a verbal surprise after demo. That’s The Kingswell Way, written into our guarantee. Call (844) 560-5417 for a free estimate.
The Bottom Line
Most bathroom remodel failures are substrate and waterproofing failures that were invisible at tile-set. The cracked grout, the recurring mold, the lingering odor – each is a symptom pointing back to a deflection problem, a mortar bed failure, or a waterproofing breach. Diagnose that root cause before you patch the surface, document the claim in writing, and confirm the repair scope covers the cause, not just the symptom. The right scope costs a little more upfront and saves you the second repair. Penhallow Remodeling Kendall writes the price and the guarantee in writing before work starts, and our 365-Day Done Right Promise is what backs it. Call (844) 560-5417 today for your free estimate.
Written by the team at Penhallow Remodeling Kendall.